A webinar already contains the teaching, the stories, and the answers your audience wants. The mistake is posting the full recording and hoping it performs. Cut it into short vertical clips instead. A webinar is different from a short clip: it teaches, answers questions, and tells stories over a long session, so a single recording holds many short ideas. Cutting it well means choosing the moments that stand alone, trimming them cleanly, and posting them in an order that makes sense. The workflow below follows that order, from picking moments to posting them across a week.
Pick five to seven moments
Rewatch with a notebook, mark moments where a question is answered clearly, a story lands, or a common objection is handled. Aim for five to seven clips, each making one point. Skip introductions, housekeeping, and long tangents. Work through the recording in order, and write the time and the point for each moment you mark. A moment is worth keeping only if a viewer who never saw the webinar can follow it in under a minute. If a moment needs the previous ten minutes to make sense, leave it out or pair it with the explanation it needs.
Cut hook-first
Open each clip with the payoff or the question, not the greeting. Trim pauses and filler, keep most clips between 30 and 60 seconds, and end before the energy drops. A clean ending beats a clip that trails off. Listen once for the point, then cut around it. Remove long pauses, repeated phrases, and any setup that does not change the meaning. If the best line comes late in a segment, move it to the front in the edit, so the viewer hears the reason to stay in the first few seconds.
Add captions and framing
Reframe to vertical 9:16, keep the speaker centred, and burn in word-by-word captions so the clip works with sound off. Check that on-screen text stays clear of platform buttons and that names or slides remain readable. Captions should follow the speaker closely, with short lines that are easy to read on a phone. Keep the speaker in the centre of the frame, and check the final clip on a phone screen before posting, so text, faces, and slides are all clear.
Post one clip a day
Publish one clip a day for a week, in the order that builds interest: the strongest answer first, then supporting tips, then the story or objection clip. Use a clear title for each clip that states the benefit, and link back to the full webinar or your main offer in the description where it fits. Space the clips so each one has a day of its own, and keep the order simple: start strong, then add useful detail, then close with the story or the objection that makes the lesson stick. A consistent daily rhythm also makes it easier to keep cutting, because the next clip is already chosen before the previous one goes out.
Reuse the rest
Leftover moments can become a second week, a carousel of quotes, or a follow-up post answering questions the clips raised. Keep a simple list of used timestamps so you never re-cut the same moment twice. A second week does not need a new recording. Look again at the moments you marked but did not use, and group them by theme, so each new clip still makes one point. A list of used timestamps, titles, and posting dates keeps the archive tidy and stops the same moment from appearing twice.
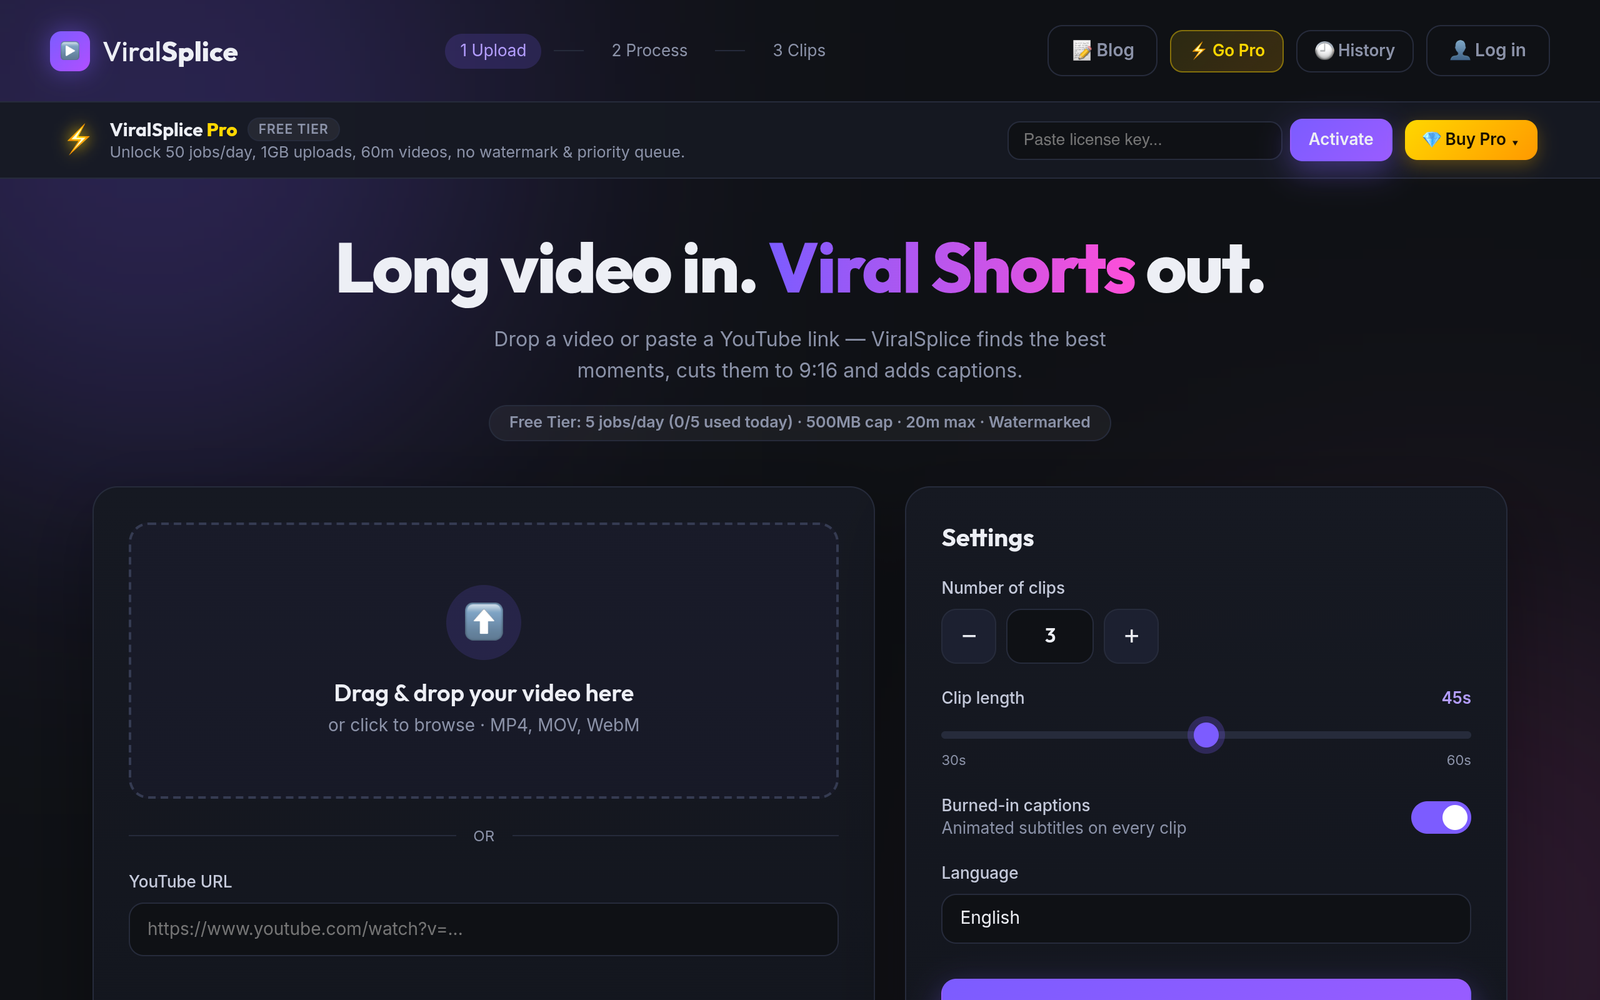
Try cutting your next webinar with ViralSplice at slice.coderao.com and turn one long session into a week of Shorts.